


Tips on Writing a Bank Check in the Philippines
Banks and companies have implemented stricter rules when it comes to writing checks. After all, these are huge amounts of money we’re talking about.
In the Philippines, there are important transactions that require the use of a check. Although it’s relatively easy to write one, it’s important that you follow the format required to save you the hassle of re-writing it again.
Since 2016, checks with erasures, corrections, or deficiencies are no longer accepted, as per the Philippine Clearing House Corporation (PCHC) Memo Circular 15-460. If you’re still not sure how to write one, here’s a guide to formats used in writing a check in the Philippines:
Writing the Date
Effective July 1, 2018, these are the accepted formats when issuing date of checks for clearing:
| FORMAT | EXAMPLE |
| Fully Written | November 9, 2018 |
| Abbreviated Month (First Three Letters) | Nov 9, 2018 |
| Numeric Style (with Full Year) | 11092018 |
| Numeric Style (with last two-digit year) | 110918 |
| Numeric with ‘/’ partition (full year) | 11/09/2018 |
| Numeric with ‘/’ partition (shortened year) | 11/09/18 |
| Numeric with ‘-’ partition (full year) | 11-09-2018 |
| Numeric with ‘-’ partition (shortened year) | 11-09-18 |
| Numeric with ‘.’ Partition (full year) | 11.09.2018 |
| Numeric with ‘.’ partition (shortened year) | 11.09.18 |
Implemented per PCHC OM No. 18-021, format from Mizuho Bank
Writing the Name of the Recipient
Make sure that you know the name of the recipient. It’s important that the name reflects the same name he/she used in the bank. If you are paying to a company, make sure you write the formal company name without abbreviations. If you are unsure about the name of the recipient, you may simply write “CASH.”
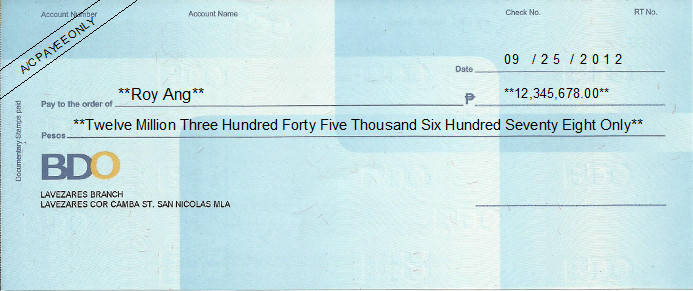 IMAGE grabbed from freechequewriter.com
Writing the correct amount
This is the most important part. You need to put the amount in figures and in words. Write it with proper spacing to prevent unauthorized alterations. Write the important details as close to the labels printed on the check. Make sure that those written in figures are exactly the same with the written amount in words.
Also read: Checks with erasures, corrections– no longer accepted in 2016
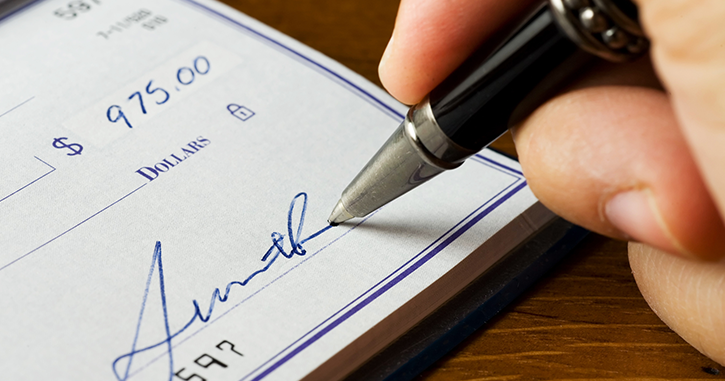
Signing your name
After all the details have been properly filled up and checked, it’s time to write your signature. Make sure that the signature you used is the same signature you have been using before. All checks must be signed too. Take note that you must never sign a blank check to avoid misuse.
Do you know other important tips when writing checks? Comment down below!


