


First Timers’ Guide to Flying Abroad
It is common for a first timer to have mixed emotions before going out of the country for the first time. You get a surge of feelings, from excitement to a great mental distress. Of course, it is going to be your first time, and it’s hard to imagine what to expect at the airport or whether you will ever get through that infamous immigration section (I’m sure you’ve heard a couple of horror stories).
The truth is, it is not so difficult as long as you are capable (in all aspects but financially, most importantly) and prepared to travel… and have good and honest intentions. Most of the time, it is just a smooth journey to your first plane boarding—which is the best feeling ever for first timers!
To somewhat ease your mind, let us walk you through what a first timer should prepare and expect for their first international trip.
Before your flight
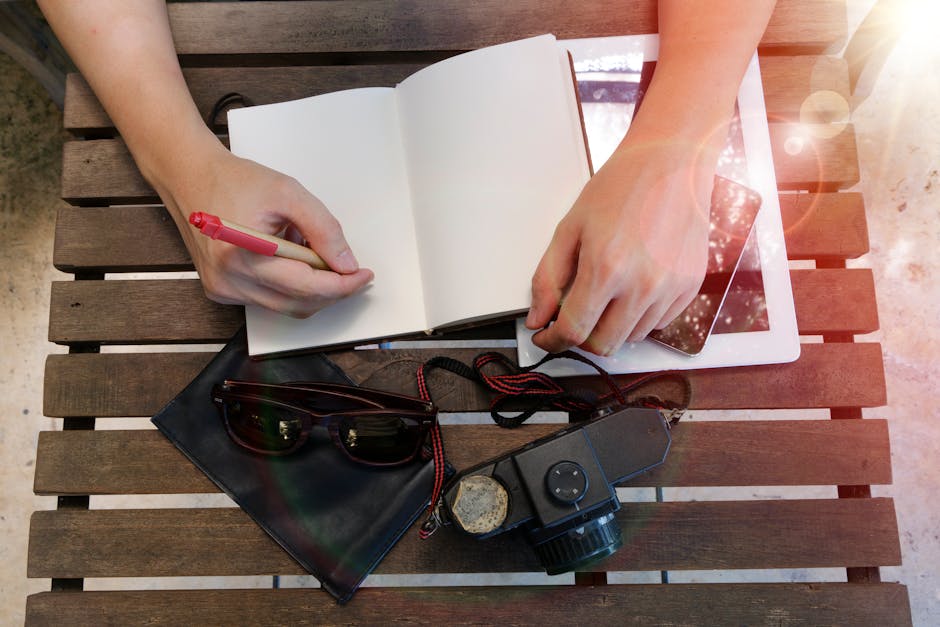
After you have successfully booked your plane tickets for your first travel abroad, the next thing you should be doing is to prepare all the necessary documents. These are the things that you should have neatly compiled before you go to the airport:
☐ Passport
☐ A printed copy of your roundtrip ticket. To be safe, keep a digital copy on your smartphone, too.
☐ Valid IDs — government-issued IDs and company ID if available
☐ Visa, if applicable
☐ Itinerary
☐ Invitation letter, if staying with a friend/relative
☐ Photocopy of all of the above (this is not required but advisable so that you have extra copies in case you lose any document)
☐ Credit/debit card used for booking your flight, if applicable
☐ Cash and enough money in your card
When packing, take note of your airline’s baggage allowance and fees. Note that there are also items that, though they seem harmless, are not allowed in your carry-on luggage. For instance, you cannot put personal battery-powered devices in your checked baggage, so they should be in your carry-on baggage. For carry-ons, any liquid item, like lotion, perfume, and deodorant, should only be in 100-ml containers and should not exceed one liter in total.
Also read: Travel Smart: Pack Light and Save on Baggage Fees
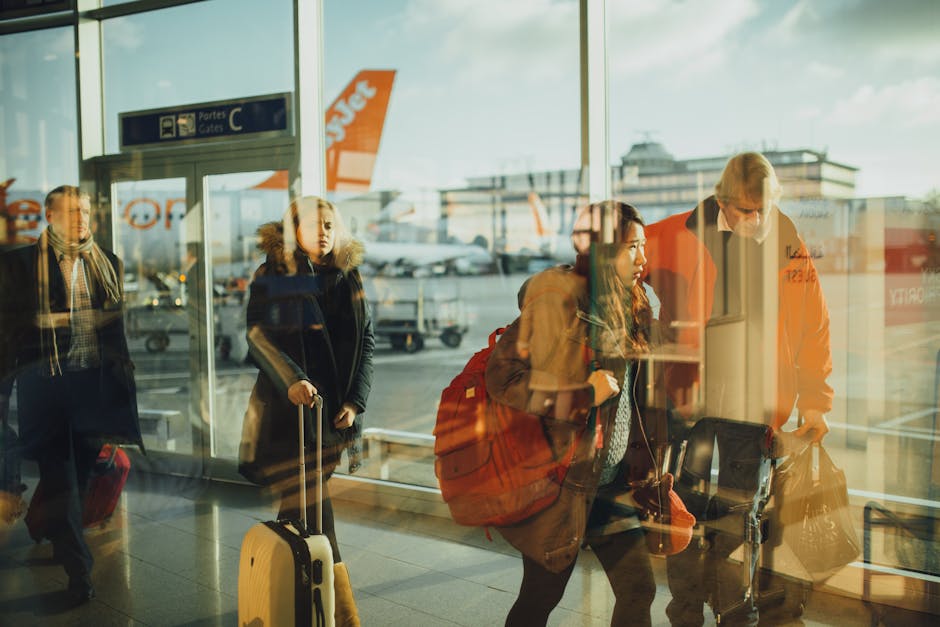
Inside the airport
When flying from Manila, once you get to Ninoy Aquino International Airport (NAIA), the first thing you have to do is enter the right terminal.
If you’re flying with Philippine Airlines (PAL), Japan Airlines, Thai Airways, Etihad Airways, and Saudia, you should be at Terminal 1. Meanwhile, many other international carriers, including All Nippon Airways (ANA), Air Asia, Cebu Pacific Air, Tiger Air, and Korean Air, are at Terminal 3.
Before entering the terminal, you should have your documents ready on hand as you will already be asked to show your passport and airline ticket at the entrance.
Once you’re at your correct terminal, here’s basically what you will go through:
1) Payment of Travel Tax
If Travel Tax is not included in your airline ticket, you will have to pay it at the airport before checking in. As of 2018, the Travel Tax for Economy Class is Php1,620 and for First Class Php2,700.
2) Check-in
During check-in, your flight will be confirmed and your baggage checked. You can do the conventional way of check-in—you fall in line and wait for your boarding pass. Major airlines, including PAL and AirAsia has an online check-in feature 24 hours to one hour before your flight, which saves you the hassle of falling in line.
3) Immigration
This is the most dreaded part of the airport process but is actually fairly easy if, again, you are prepared, honest, and confident.
First, you fill out the immigration form or departure card. It’s just a little piece of paper that asks for your personal information (name, contact details, passport number, and occupation) and trip details (country of residence, destination, the purpose of travel).
Most of the time, the immigration personnel will just ask small details about your trip, like why you’re going, what you’re going to do, where you’re staying, etc. Just answer honestly and confidently, and you’ll be over it in no time!
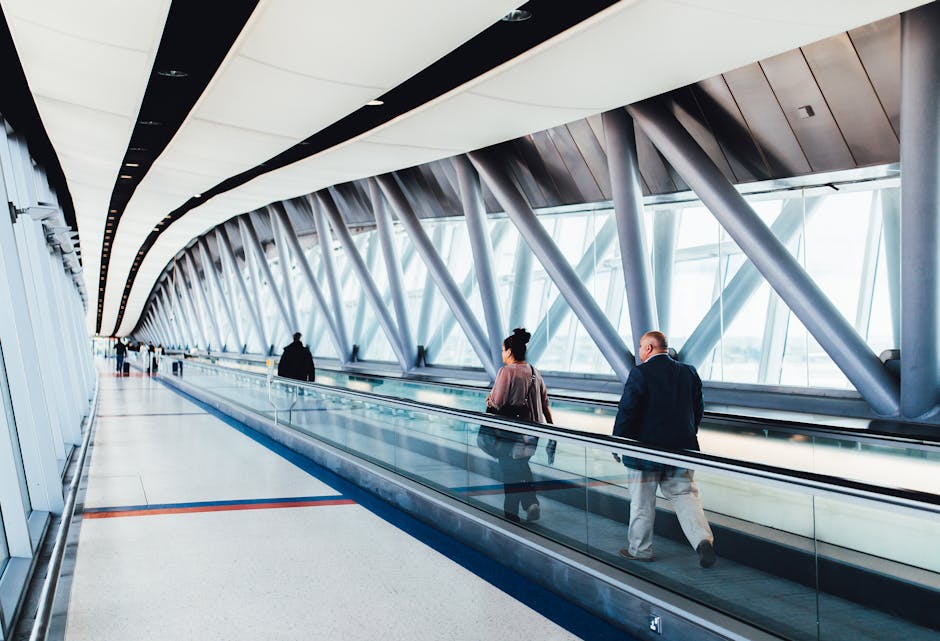
4) Boarding
Hurray! That’s it—all that’s left to do now is sit pretty and wait for your boarding. There are many restaurants and shops in the boarding area to hang around, so you won’t bore out on waiting.
More tips for the first-timer
1) It is ideal to book your hotel accommodation before your flight, at least for your first night of stay. That way, you can provide an address at your country of destination, which will be asked at the immigration section.
2) Keep all your important documents in one handy envelope for organization and easy access.
3) Exchange currencies before going to the airport or upon arrival at your destination—just not at the airport!
4) Be at the airport at least two or three hours before your scheduled flight.
5) Don’t sweat the small stuff! It helps to relieve any anxiety if you research about your destination and plan your trip well. Get excited, but do not ever freak out!
Ready to go? Check out more of these helpful blogs for your first out-of-the-country travel!
Travel Guide to Nagano, Japan
10 Reasons Why Taiwan Should Be the Next Country You Visit
7 Tried-and-Tested Tips for Traveling Solo
Written by Rizelle “Rei” Leaño


